Introduction
Why Is AI Art Generation Exploding in Popularity?
Have you ever envisioned a breathtaking digital masterpiece but felt limited by a lack of traditional drawing skills or expensive software? For countless creators, this gap between imagination and execution has been a persistent barrier. What if you could bridge that gap simply by describing your ideas?
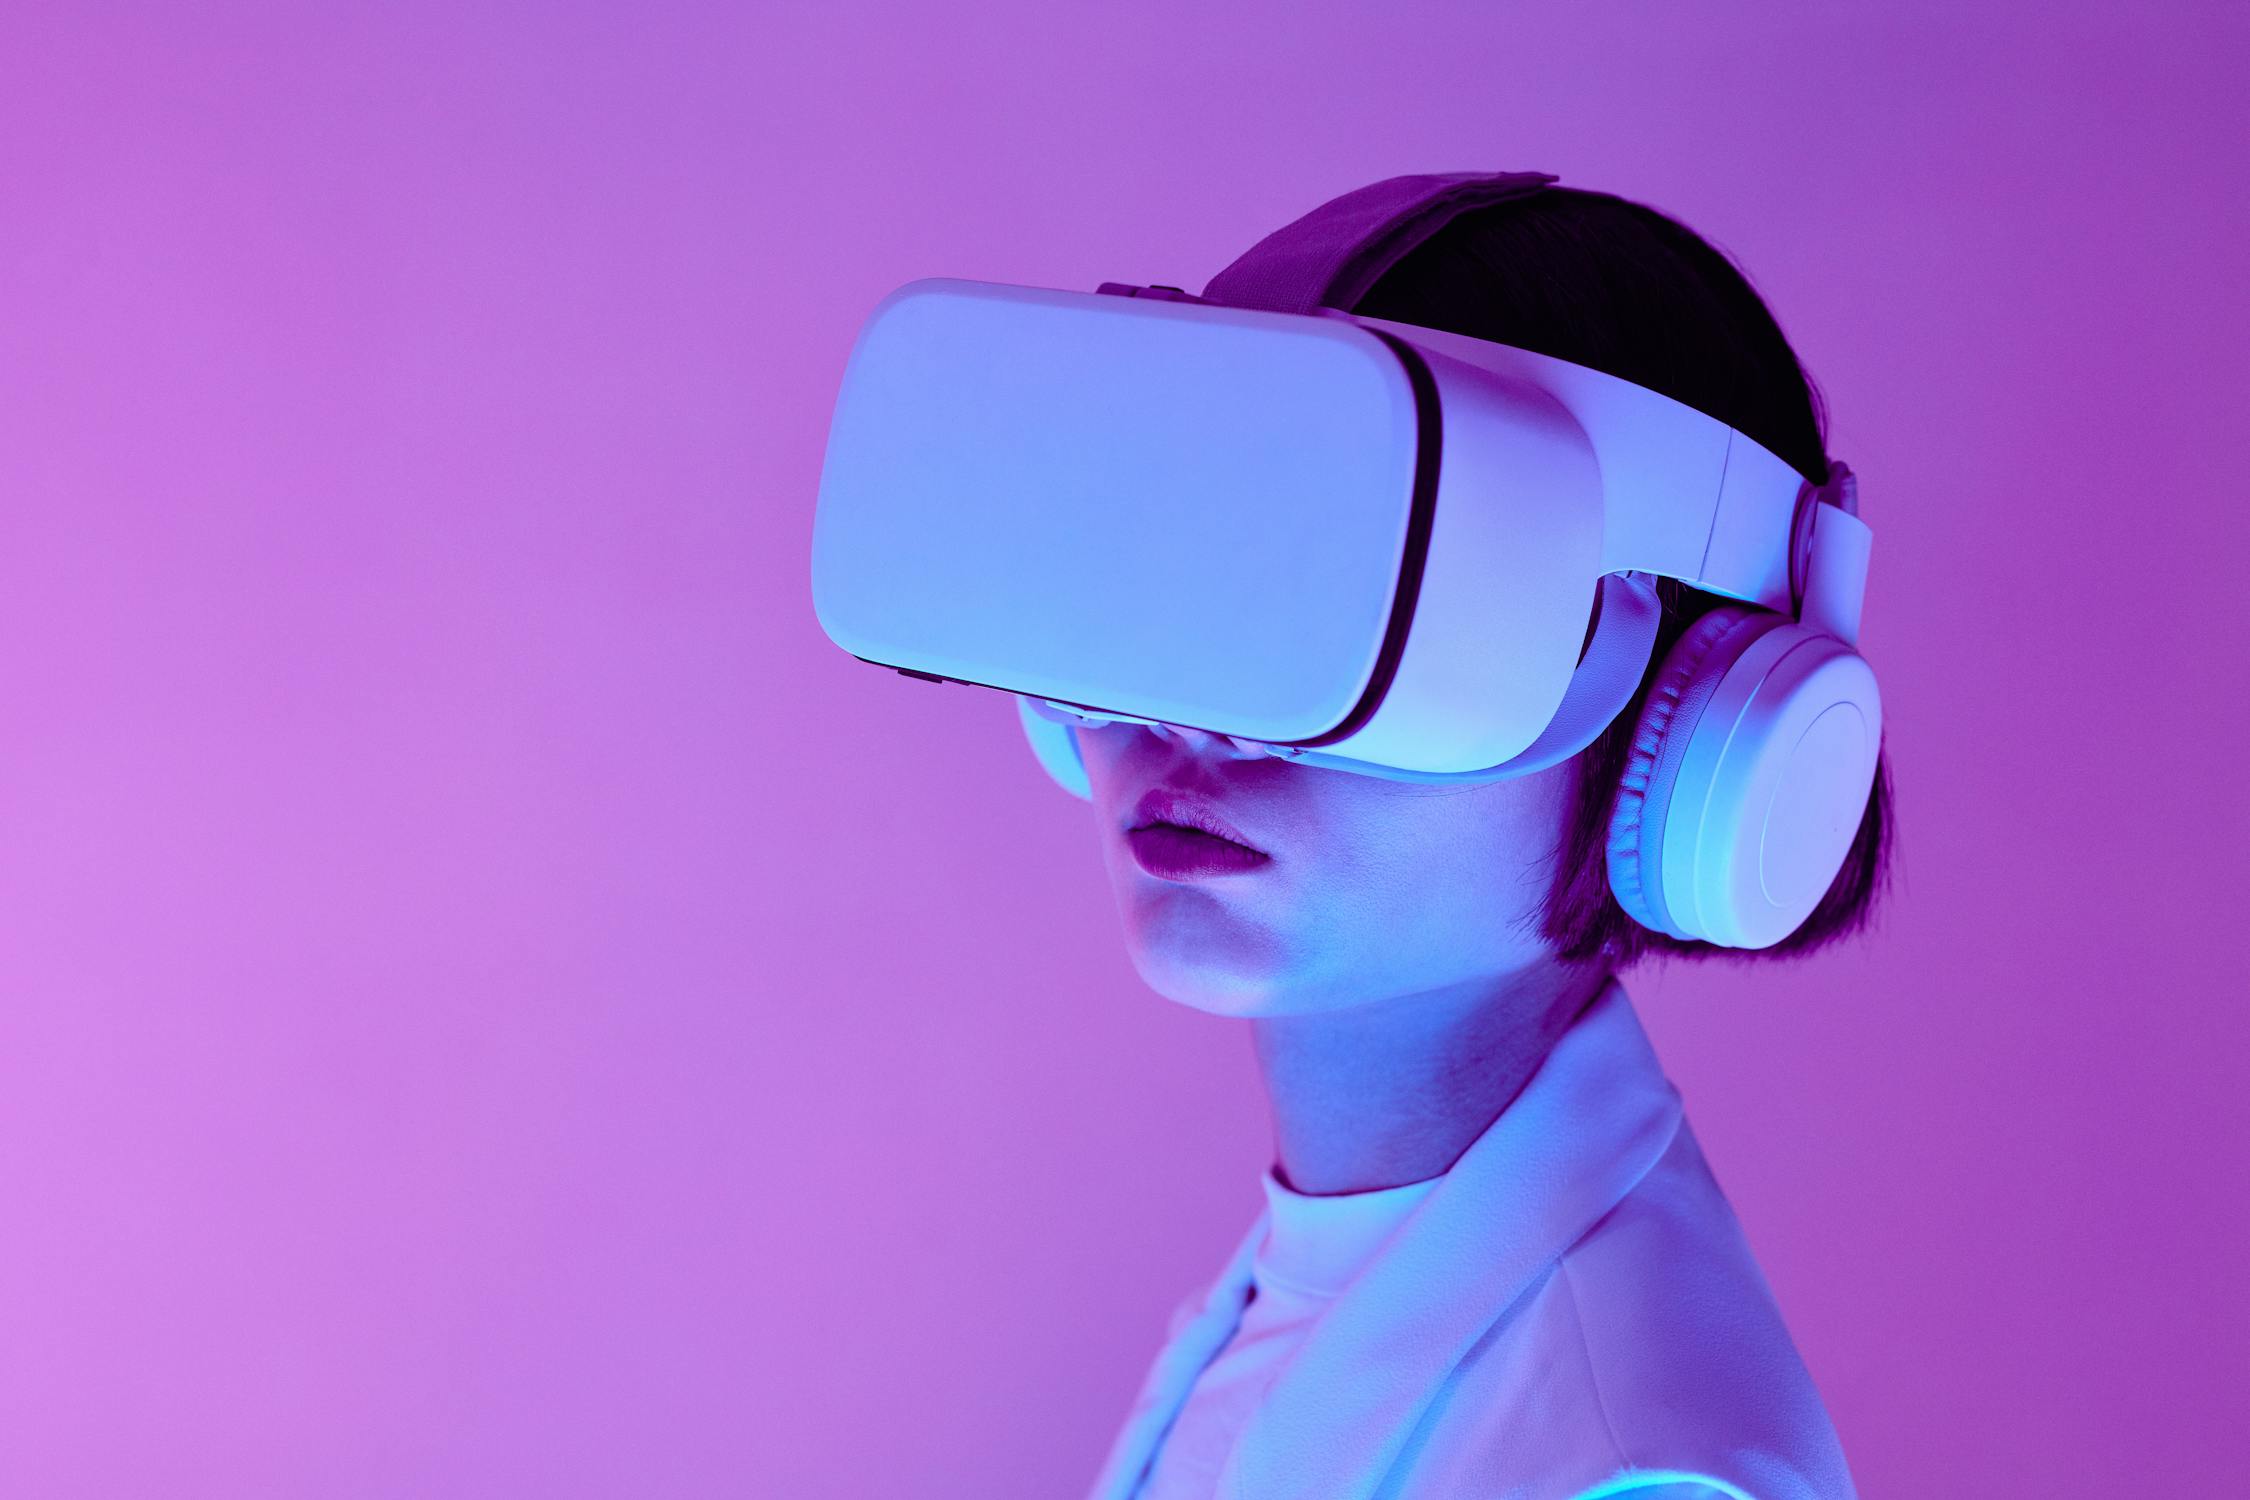
This is the transformative power of AI art generation. By leveraging artificial intelligence, anyone can now produce stunning, professional-quality visuals. It’s not about replacing artists; it’s about empowering them with a revolutionary new toolset. Platforms like Leonardo AI are at the forefront of this creative shift, making high-end digital art accessible to everyone from seasoned designers to complete beginners.
What Will You Learn in This Guide?
This comprehensive guide is your roadmap to mastering Leonardo AI. We will walk you through every step, ensuring you can confidently generate the visuals you need. Here’s a preview of what we’ll cover:
- Getting Started: A simple, step-by-step walkthrough of setting up your Leonardo AI account and navigating the main dashboard.
- Prompt Engineering: We’ll dive into crafting effective text prompts—the core skill for guiding the AI to produce exactly what you imagine.
- Core Tools and Features: You’ll learn about Leonardo’s key features, including generating unique images, refining them with AI Canvas, and training your own models.
- Advanced Techniques: Discover best practices for creating consistent styles, generating images for specific use cases like marketing or concept art, and troubleshooting common issues.
By the end of this guide, you will have a solid understanding of how to leverage Leonardo AI’s powerful features. You’ll be ready to turn your creative concepts into compelling digital art, enhancing your workflow and unlocking new creative possibilities. Let’s begin your journey into the future of artistry.
Getting Started with Leonardo AI: Account Setup and Interface Overview
Embarking on your AI art journey with Leonardo AI is a straightforward process, designed to get you from concept to creation as quickly as possible. The first step is gaining access to the platform, which operates entirely through a web-based interface. This means there’s no need for powerful local hardware or complex software installations; you can start generating art from any modern computer with an internet connection.
To begin, you’ll navigate to the Leonardo AI website and look for a sign-up option. The process typically involves providing basic details like your name, email address, and creating a secure password. In some cases, you may be prompted to join a waitlist or gain immediate access depending on current platform demand. Once your account is verified via a confirmation email, you can log in and step into the creative dashboard. A key advantage of the web-based model is that all updates and new features are rolled out seamlessly, ensuring you always have access to the latest tools without needing to download anything.
How Do I Set Up My Leonardo AI Account?
After successfully creating your account and logging in for the first time, you’ll be greeted by the main dashboard. This is your central command center for all creative activities. Getting acquainted with its layout is essential for an efficient workflow. The interface is logically organized to guide you from inspiration to final product.
The main dashboard components you should immediately notice include:
- The Navigation Menu: Usually found on the left-hand side, this is your primary tool for switching between the platform’s core features, such as the AI Canvas, Image Generation tools, and your personal Asset Library.
- Your Generation History: This section is an invaluable resource. It automatically saves every image you create, along with the prompts and settings used. This allows you to easily revisit, refine, or remix your previous work without starting from scratch.
- The Community Feed: A source of constant inspiration, the community feed showcases creations from other users. Browsing this feed is a fantastic way to see what’s possible, discover popular models, and even get ideas for your own prompts.
What Are the Key Sections and Initial Settings?
Before you jump into creating your first masterpiece, it’s wise to configure a few essential settings. This initial setup helps tailor the platform to your specific needs and ensures consistent results from the start. You can typically find these settings in an account or workspace preferences area.
Consider adjusting these important configurations:
- Default Model Selection: Leonardo AI offers a variety of AI models, each with its own artistic style and strengths. You can set a default model that aligns with your general preference, whether you’re aiming for photorealistic images, anime-style art, or something more abstract. You can always change this on a per-generation basis later.
- Quality and Generation Preferences: Look for options related to image resolution and quality. Best practices indicate that starting with a standard resolution is fine for drafts, but you can adjust this for final outputs. You might also find settings for the number of images generated per prompt.
- Guidance Scale and other Defaults: Some platforms allow you to set a default “Guidance Scale” (sometimes called CFG Scale). This setting controls how closely the AI adheres to your prompt. A good starting point is a balanced value, which you can then experiment with.
Once your account is set up and your initial preferences are configured, you’re ready to explore the platform’s powerful tools. The Image Generation section is where most users start, offering a classic prompt-to-image experience. For more control, the AI Canvas provides a powerful editor for in-painting, out-painting, and editing specific parts of an image. By taking a few moments to set up your workspace correctly, you ensure a much smoother and more enjoyable creative process right from the start.
Understanding Leonardo AI’s Core Features and Tools
Now that you’re familiar with the Leonardo AI dashboard, it’s time to explore the powerful engine that drives this platform. Understanding its core features is like learning the functions of a new camera; it allows you to move beyond automatic settings and start creating with real intention. Each tool is designed to give you a different level of control over your creative output, from broad strokes to fine details.
How Does the Image Generation Tool Work?
The Image Generation tool is the heart of Leonardo AI, where your words transform into visuals. This is your primary engine for creating new art from a simple text prompt. The process is straightforward: you describe an image, and the AI interprets your words to generate a unique visual. But the real power lies in the controls you have to guide this process.
When using the Image Generation tool, you’ll encounter key settings that dramatically affect your results:
- Negative Prompts: This is where you tell the AI what not to include. For example, if you’re generating a portrait but want to avoid any strange hands, you might add terms like “bad anatomy, extra fingers” to your negative prompt.
- Guidance Scale: This setting controls how strictly the AI adheres to your prompt. A lower value gives the model more creative freedom, while a higher value ensures it follows your description more closely. It’s a balancing act between your vision and the AI’s interpretation.
- Image Dimensions & Quality: You can set the aspect ratio (like 16:9 for landscapes or 1:1 for social media posts) and the resolution. Best practices indicate that starting with a manageable size and upscaling later is a more efficient workflow.
What is the AI Canvas and When Should You Use It?
Have you ever had an image that was almost perfect, but just needed a small tweak? The AI Canvas is Leonardo’s solution for this, acting as a powerful, intelligent editor for your creations. It’s not for generating brand-new images from scratch; instead, it’s designed for refining, extending, and fixing existing visuals with incredible precision.
The AI Canvas excels at two primary functions: In-painting and Out-painting. In-painting allows you to select a specific area of an image and regenerate only that portion based on a new prompt. Imagine you generated a beautiful landscape, but a tree in the foreground looks a bit unnatural. You can mask that tree and prompt for a “majestic oak tree” to seamlessly replace it. Out-painting, on the other hand, extends your image beyond its original borders. If you have a portrait and want to see what the rest of the room looks like, you can expand the canvas and let the AI intelligently fill in the new space. This feature is essential for iterative refinement and turning a good image into a great one.
How Do You Choose the Right Model for Your Style?
One of the most impactful choices you’ll make is selecting the right AI Model. Think of models as different artists, each with a unique style, specialty, and way of seeing the world. Leonardo AI offers a Model Library with a diverse range of options, from photorealistic models that excel at creating lifelike images to anime-focused models or those designed for abstract art.
How do you know which one to pick? It entirely depends on your creative goal. For instance, if you’re looking to create a stunning digital painting that mimics oil on canvas, you’d want to explore models trained on fine art. If your project requires photorealistic product shots, a model specializing in realism and lighting would be a better fit. A practical approach is to browse the Model Library and look at the example images provided for each one. This gives you a clear preview of its strengths. Experimenting with different models is key; you might be surprised to find that a “fantasy” model can produce amazing sci-fi concepts.
What are Elements and How Can They Enhance Your Art?
To achieve a consistent visual theme across multiple images, Leonardo AI offers a powerful feature called Elements. If you think of your base prompt as the subject and composition, an Element acts as a consistent style modifier. It’s a way to apply a specific artistic “look” or “vibe” to your generations without having to describe that style in painstaking detail every single time.
Elements work by adding a layer of trained stylistic data to your generation process. For example, you might have an Element called “Cinematic Lighting” or “Watercolor Sketch.” When you apply this Element to a prompt like “a futuristic cityscape,” the AI will generate the cityscape while adhering to the stylistic rules of that Element. This is incredibly useful for maintaining a cohesive aesthetic for a project, like a graphic novel or a series of social media posts. It helps you develop a recognizable brand style for your AI art, making your work more distinct and professional.
Finally, for creators who need specific textures or patterns, Leonardo AI’s Texture Generation tools offer a specialized workflow. Instead of generating a full scene, these tools are optimized for creating seamless, tileable textures that can be used in 3D modeling, game development, or graphic design. You might prompt for “worn leather texture” or “stylized brick wall,” and the tool will produce a high-quality, repeatable pattern. This feature showcases the platform’s versatility, moving beyond single images to become a true asset-creation tool for a wide range of digital artists and designers.
Mastering Prompt Engineering for Stunning AI Art
The true power of Leonardo AI isn’t just in its sophisticated algorithms; it’s in your ability to communicate your vision to the machine. This communication happens through prompt engineering—the art and science of crafting text descriptions that guide the AI toward your desired outcome. Think of it as giving directions to a highly skilled but literal-minded artist. The clearer and more detailed your instructions, the better the final piece will be.
Understanding how to structure your prompts is the single most important skill you can develop. A well-crafted prompt can mean the difference between a generic, uninspired image and a breathtaking, professional-quality artwork. It’s the bridge between your imagination and the AI’s execution.
What is the Anatomy of an Effective Prompt?
To consistently get great results, you should think of your prompt as having four key components: subject, style, composition, and technical details.
- Subject: This is the core of your image. What is the main focus? Be specific. Instead of “a dog,” try “a fluffy golden retriever puppy.”
- Style: This defines the aesthetic. Are you aiming for a photorealistic image, an oil painting, a digital illustration, a cartoon, or a sketch? This is where you define the artistic medium.
- Composition: This is how you arrange the elements in your frame. Consider camera angles (e.g., “low-angle shot,” “bird’s-eye view”), shot types (e.g., “close-up,” “wide shot”), and the overall layout.
- Technical Details: These are the finishing touches that add quality and realism. This includes elements like lighting (“cinematic lighting,” “soft natural light”), level of detail (“highly detailed,” “8k”), and atmosphere (“misty,” “vibrant”).
A simple prompt like “a knight” will give you a basic image. A masterful prompt like “photorealistic full-body shot of a battle-worn knight, intricate armor details, standing in a misty forest, cinematic lighting, highly detailed, 8k resolution” gives the AI a rich blueprint to work from.
How Can I Use Negative Prompts to Refine Results?
Sometimes, what you don’t want in your image is just as important as what you do. This is where negative prompting comes in. A negative prompt is a list of terms you tell the AI to ignore during the generation process. It’s an incredibly powerful tool for cleaning up common AI artifacts and unwanted elements.
For example, you might generate a portrait of a person, but the AI consistently gives them an extra finger or distorted hands. In your negative prompt, you could add terms like: “deformed, mutated, extra limbs, malformed hands, blurry.” This instructs the model to avoid these outcomes.
Similarly, if you’re creating a beautiful landscape and keep getting unwanted modern elements like power lines or cars, you can add “power lines, cars, modern buildings” to your negative prompt. Using negative prompts is a best practice for achieving more polished and professional-looking results. It helps you steer the AI away from common mistakes and gives you finer control over the final image.
What Keywords Should You Use for Specific Effects?
The specific words you choose can dramatically alter the mood, lighting, and perspective of your artwork. Keywords act as powerful levers to fine-tune your creations. Research suggests that using precise terminology yields more consistent results.
Here are some keyword categories to experiment with:
- Lighting: “Volumetric lighting,” “golden hour,” “dramatic backlighting,” “softbox lighting,” “neon glow.”
- Camera Angles: “Low-angle shot,” “drone view,” “macro lens,” “wide-angle lens,” “fisheye.”
- Artistic Mediums: “Oil painting,” “watercolor,” “charcoal sketch,” “cel-shaded,” “3D render,” “vector art.”
- Quality and Detail: “Unreal Engine 5,” “Octane render,” “masterpiece,” “trending on ArtStation,” “hyperrealistic.”
For instance, if you want to create a moody, cinematic shot of a character, you might use: “low-angle shot, dramatic side-lighting, film noir style, high contrast.” These keywords provide specific instructions that the AI understands well, leading to a more targeted and professional output.
What Are Some Prompt Structures for Different Creative Goals?
Different projects require different approaches. Here are a few example prompt structures you can adapt for various creative goals.
For a Photorealistic Image:
- Structure:
[Subject Description], [Environment/Background], [Lighting], [Camera Details], [Quality Keywords] - Example: “A professional headshot of a female CEO, modern office background, soft natural light from a large window, shot on a 50mm lens, hyperrealistic, 8k, detailed skin texture.”
- Structure:
For a Stylized Illustration:
- Structure:
[Subject Description] in the style of [Artist/Art Style], [Color Palette], [Mood/Feeling] - Example: “A whimsical forest creature, in the style of Studio Ghibli, soft pastel color palette, magical and serene atmosphere, detailed background.”
- Structure:
For an Abstract Concept:
- Structure:
[Abstract Concept], represented by [Shapes/Textures/Colors], [Artistic Style], [Lighting/Mood] - Example: “The concept of chaos, represented by sharp geometric shapes and vibrant clashing colors, abstract expressionism, energetic and dynamic lighting.”
- Structure:
By mastering these structures and experimenting with the components, you can transform Leonardo AI from a simple image generator into a precise and powerful creative partner.
Advanced Generation Techniques and Settings Optimization
Once you’ve mastered the basics of prompting, the next step to achieving professional-quality results is understanding the advanced controls at your disposal. Leonardo AI provides a suite of parameters that act like fine-tuning knobs, allowing you to exert greater influence over the final image. Learning what each one does is the key to moving from happy accidents to intentional, repeatable artistry.
How Do Guidance Scale, Steps, and Sampler Work?
These three settings are the core engine of your image generation, controlling how strictly the AI follows your prompt and how it refines the final image.
- Guidance Scale: This parameter dictates how closely the AI should adhere to your text prompt. A lower guidance scale gives the AI more creative freedom, which can lead to more surprising and artistic results but might stray from your specific instructions. A higher value forces the AI to follow your prompt more literally, which is excellent for precise compositions but can sometimes result in a less organic look. A good starting point is often in the 5-8 range, with higher values reserved for when you need specific elements to appear exactly as described.
- Steps (or Inference Steps): This setting determines how many refinement cycles the image goes through. More steps generally mean a higher-quality, more detailed image, as the AI has more opportunities to clean up noise and define shapes. However, there are diminishing returns—jumping from 20 to 30 steps can make a big difference, but 50 to 60 steps may offer only a minor improvement while significantly increasing generation time. It’s best to find a balance that works for your desired quality and speed.
- Sampler: The sampler is the specific algorithm the AI uses to navigate the “noise” and arrive at a coherent image. Different samplers have different characteristics. Some are known for speed, others for photorealism, and some for creating more artistic or stylized results. There’s no single “best” sampler; experimenting with options like Euler a, DPM++ 2M Karras, or DDIM will help you discover which one best suits your creative style and the specific type of image you’re generating.
What is the Difference Between Alchemy and Non-Alchemy Mode?
Alchemy is Leonardo’s advanced generation pipeline, and understanding when to use it is a game-changer for your workflow.
Non-Alchemy mode is the standard, foundational process. It’s faster and consumes fewer credits, making it ideal for rapid iteration, testing prompts, or when you’re working on more abstract concepts where speed is more important than photorealistic detail. Think of it as your sketchbook or brainstorming tool.
Alchemy mode, on the other hand, is a premium feature that leverages more complex models and techniques to produce significantly higher-quality images. It excels at rendering fine details, realistic textures, and complex lighting. For projects intended for professional deliverables—like client work, high-resolution prints, or final portfolio pieces—Alchemy is almost always the right choice. It transforms good outputs into stunning visuals with a level of polish that is difficult to achieve otherwise. The trade-off is that it uses more credits and takes longer to generate.
How Can You Maintain Consistency with Image Guidance?
One of the biggest challenges in AI art is maintaining a consistent character, style, or object across multiple images. This is where Image Guidance and Reference Images become indispensable tools.
Image Guidance allows you to upload an existing image and ask the AI to use it as a visual blueprint for a new generation. You can control the “strength” of this influence. A high strength will create a new image that closely matches the composition and colors of your reference, while a lower strength will use it as a more subtle stylistic guide. For example, if you want to create a character in different poses, you can use an image of your character as a reference to ensure their face and clothing remain consistent.
Reference Images work similarly within the generation process, providing a source of inspiration for style, mood, or subject matter. By providing a reference, you can guide the AI to replicate a specific artistic style or color palette without having to describe it in words. This is a powerful technique for creating a cohesive series of images, such as a set of illustrations for a story or a collection of branded visuals.
What Are the Best Strategies for Upscaling and Enhancing Quality?
Generating a great image is only half the battle; preparing it for final use is just as important. Leonardo AI offers several ways to enhance your images for professional-quality deliverables.
- Initial Generation Size: Start with the highest resolution you can without compromising generation quality. A common workflow is to generate an image at a mid-range resolution (e.g., 1024x1024) and then upscale it, rather than trying to generate a massive 4K image from the start, which can sometimes lead to composition issues.
- AI Upscaling: Leonardo has dedicated upscalers that use AI to intelligently increase the resolution of your image. This process adds new pixel data that matches the original style, resulting in a sharper, larger image without the blurriness of traditional upscaling. This is essential for printing or displaying your work on high-resolution screens.
- Image to Image Enhancement: A clever strategy for adding more detail is to take your finished image, re-upload it into the Image Generation tool with the same prompt, and set the Image Strength to a low value (e.g., 0.2-0.3). Then, generate again with Alchemy on. This “remixes” your own image, often adding a layer of increased detail and refinement.
By mastering these advanced settings and techniques, you gain precise control over your creative output, ensuring that your final images are not just happy accidents, but true reflections of your artistic vision.
Leveraging Leonardo AI for Specific Creative Workflows
While generating a single stunning image is impressive, the true power of Leonardo AI lies in its ability to support entire creative projects from start to finish. Whether you’re developing a character for a story, visualizing a new product, or creating assets for a marketing campaign, you can build specialized workflows to streamline your process and ensure high-quality, consistent results. This section will guide you through applying Leonardo AI to specific creative challenges.
How to Maintain Character Consistency Across Multiple Images
One of the most common hurdles in AI art is keeping a character looking the same from one image to the next. Imagine you’re illustrating a comic book or developing a game; you need your protagonist to have the same face, hair, and clothing in every scene. Leonardo AI offers powerful tools to solve this exact problem.
The key is to establish a strong visual reference. Here’s a practical workflow:
- Create Your Base Character: Start by generating a character portrait you love. Focus on getting the facial features, hair, and key attributes exactly right. This will be your master reference.
- Save and Use the Image: Save this image. Now, when you want to create a new scene (e.g., your character running through a forest), use Leonardo’s Image Guidance feature.
- Upload Your Reference: In the Image Guidance panel, upload your saved character image.
- Set the Strength: Adjust the Image Guidance Weight. A higher weight will force the AI to stick very closely to your reference’s face and structure, while a lower weight allows for more creative freedom in the new scene’s composition.
- Prompt for the New Scene: Write a prompt for the new action or environment, like “dynamic shot, character running through a misty forest, cinematic lighting.” The AI will generate a new image with your character in the new setting, maintaining their core identity.
This technique is also essential for product design, where you need to show the same object from different angles or in various environments.
Creating Marketing Materials and Brand Assets
Beyond character and concept art, Leonardo AI is a fantastic tool for generating marketing materials, social media content, and brand assets. A small business, for example, could quickly create a library of unique visuals for ad campaigns, blog posts, and website banners without needing a large design budget.
To maintain a cohesive brand look, the most effective strategy is to train a custom model on your existing assets. You can upload a collection of images that reflect your brand’s style—perhaps photos of your products, existing logo designs, or a specific color palette. Once the model is trained, you can generate new images that inherently understand your brand’s aesthetic. This allows you to create:
- Social Media Graphics: Generate eye-catching visuals for posts that match your brand’s vibe.
- Website Banners: Create unique, professional headers for your homepage or landing pages.
- Blog Post Illustrations: Produce custom artwork that complements your written content.
By using a consistent style seed or a custom model, you ensure that every visual you create strengthens your brand identity.
The Iterative Refinement Process for Polished Artwork
Generating a great image is often just the first step. Professional results usually come from an iterative refinement process. Think of it like a sculptor starting with a block of marble and gradually adding detail.
This process involves using Leonardo AI’s tools in stages. For example, you might start with a broad concept using a Canvas editor to block out the basic shapes and composition. Then, you can use In-Painting to select specific areas of the image and re-prompt for more detail. If you want to change a character’s expression or the texture of a surface, you can mask that area and ask the AI to generate new options just for that spot.
Key steps in an iterative workflow:
- Generate and Select: Create multiple variations of your core idea and select the one with the best composition.
- Refine Details: Use In-Painting to enhance eyes, hands, or other complex areas.
- Expand and Upscale: Use Outpainting to extend the canvas and add more background or context, then use the Alchemy Upscaler to increase the resolution for a publication-ready final image.
This methodical approach allows you to direct the AI, correcting flaws and enhancing strengths until you have a polished piece of art that meets your exact vision. By embracing these targeted workflows, you can transform Leonardo AI from a simple image generator into an indispensable partner for all your creative and commercial projects.
Best Practices, Troubleshooting, and Community Resources
As you integrate Leonardo AI into your creative workflow, efficiency becomes just as important as quality. A cluttered workspace can slow you down, so it’s vital to organize your projects from the start. For larger projects, consider creating dedicated collections for different themes, such as “character concepts” or “background assets.” This simple habit prevents you from sifting through hundreds of images later on.
Another powerful workflow tip is to use the Favorites feature liberally. When you generate an image with a style or composition you might want to revisit, star it immediately. This builds your personal library of proven results, allowing you to quickly reference successful prompts and settings for future projects, ensuring a consistent aesthetic without starting from scratch each time.
How Can You Troubleshoot Common Generation Issues?
Even with the best prompts, you’ll occasionally encounter results that miss the mark. The most common issue is a degradation in quality, often appearing as strange artifacts, distorted hands, or blurry details. Before tweaking your prompt, first check your Image Dimensions and Guidance Scale. Very high resolutions can sometimes introduce artifacts, and an overly high Guidance Scale can “burn” the image, making it look over-processed. A good starting point is to generate at a moderate resolution and adjust from there.
If your images are consistently off-topic or you’re getting the wrong style, the issue usually lies in prompt clarity and weight. Be specific and concise. Instead of a vague prompt like “a cool car,” try “a sleek, futuristic concept car, matte black finish, neon underglow, cinematic lighting.” If the AI is ignoring a key element, try increasing its weight in the prompt or using Negative Prompts to explicitly tell it what to avoid, such as “blurry, deformed, watermark, extra limbs.” This gives you finer control over the final output.
What Can You Learn from the Community Feed?
The Leonardo AI community feed is more than just a gallery; it’s a live, interactive learning hub. Spending just a few minutes browsing it can significantly boost your skills. When you see a piece that impresses you, don’t just admire it—click on it to examine the prompt and settings used to create it. This is an invaluable way to discover new keywords, artistic styles, and parameter combinations you might not have considered.
Beyond technical details, the community feed is a fantastic source of inspiration. It showcases the platform’s full range of capabilities and can spark new ideas for your own projects. By observing how others achieve specific effects or blend concepts, you can reverse-engineer their success and apply those techniques to your own creative challenges.
Understanding Commercial Rights and Ethical Use
As you create stunning visuals, it’s crucial to understand the commercial and ethical landscape of AI art. Always review Leonardo AI’s specific terms of service regarding commercial use. Generally, paid subscribers have broader rights to use their generated images in commercial projects like marketing materials, book covers, or product designs. However, it’s your responsibility to ensure you’re compliant with the platform’s current policies.
From an ethical standpoint, best practices indicate a growing consensus on transparency and respect for original artists. If you use a style heavily inspired by a living artist, consider acknowledging their influence. Avoid using prompts that directly mimic a specific artist’s work in a way that could be seen as competition or appropriation. Being mindful of these considerations helps foster a healthy and respectful creative ecosystem for everyone.
Where to Find Help and Inspiration
When you hit a creative block or need technical support, the broader Leonardo AI community is your best resource. Official Discord servers and dedicated forums are excellent places to ask questions, share your work for feedback, and connect with other users. You’ll find channels for everything from prompt engineering help to showcasing your latest creations.
Engaging with the community not only helps you solve problems faster but also keeps you updated on new features and evolving best practices. By participating in discussions and sharing your own learnings, you contribute to a collective knowledge base that benefits all users, from beginners to seasoned professionals.
Conclusion
You’ve now journeyed through the essential steps of mastering Leonardo AI, from initial setup and navigating the interface to crafting nuanced prompts and managing complex creative projects. The platform offers a powerful suite of tools designed to translate your vision into stunning digital art, but the true magic happens when you begin to experiment. Developing your unique prompting style is a process of discovery, and the most effective way to learn is by doing. Start with simple concepts, gradually layer in complexity, and don’t be afraid to iterate on your results.
Your Creative Journey Starts Now
To truly integrate Leonardo AI into your workflow, consider these actionable next steps:
- Revisit the Canvas: Dedicate your next session to exploring a single feature you haven’t used yet, like the 3D Animation+ tools or Image Guidance.
- Build a Prompt Library: Save your most effective prompts and successful generations as a personal reference for future projects.
- Engage with the Community: Observe the techniques used by other creators in the community feed to spark new ideas and refine your approach.
Remember, the key to mastery is consistent practice and a willingness to explore. Each generation, whether a success or a learning experience, builds your expertise and pushes the boundaries of your creativity.
The Future is Creative
The landscape of AI art is evolving at a breathtaking pace, and Leonardo AI is at the forefront of this transformation. By familiarizing yourself with these tools now, you are not just learning a new skill—you are positioning yourself to be an active participant in the future of digital creation. Embrace the possibilities, continue to learn, and use these powerful tools to bring your most ambitious ideas to life. Your creative potential is limitless.
Frequently Asked Questions
How do I start creating art with Leonardo AI?
To begin, visit the Leonardo AI website and sign up for an account using your email or existing credentials. Once logged in, take a moment to explore the intuitive dashboard. The main interface typically features a prominent ‘Image Generation’ tool. Start by typing a descriptive prompt into the text box, then select a preset style or model if you wish. Finally, click the ‘Generate’ button to create your first AI artwork. The platform is designed for ease of use, allowing beginners to produce impressive results quickly.
What is prompt engineering and why is it important for Leonardo AI?
Prompt engineering is the art of crafting descriptive text inputs to guide the AI toward generating the specific image you envision. It’s crucial because the quality and detail of your prompt directly influence the output’s accuracy, style, and composition. Instead of a simple word, a well-engineered prompt includes details about the subject, artistic style, lighting, and mood. For example, you might specify ‘a photorealistic portrait of an astronaut in a sunflower field, cinematic lighting.’ Mastering this skill gives you precise creative control.
Which features make Leonardo AI stand out for artists and designers?
Leonardo AI offers several powerful features that appeal to creative professionals. Key tools include a variety of pre-trained AI models for different styles, such as photorealism or anime. The platform also provides an ‘AI Canvas’ for in-painting and out-painting, allowing you to edit and expand existing images. Users can train custom models on their own datasets to maintain a consistent artistic style. These features, combined with a user-friendly interface and community-driven inspiration, make it a versatile tool for diverse creative workflows.
How can I improve the quality of my AI-generated images?
To achieve higher quality results, focus on writing more detailed and specific prompts. Use descriptive adjectives and clearly define the subject, action, and environment. Experiment with different Leonardo AI models to find one that best suits your desired aesthetic. Adjusting generation settings, like the number of steps or guidance scale, can also refine the output. For best results, generate multiple images in a batch and select the one with the best composition, then use the upscaler feature to enhance its resolution and detail.
What are some best practices for using Leonardo AI effectively?
For effective use, start with a clear creative goal before writing your prompt. Iterate on your prompts; small changes in wording can lead to significantly different results. Don’t hesitate to experiment with the various settings and models to understand their impact. It’s also wise to use negative prompts to specify what you don’t want in your image, which helps clean up the final output. Finally, engage with the Leonardo AI community to share work, find inspiration, and learn new techniques from other users.